Connect one n8n Cloud or reachable self-hosted instance with its URL and public API key.
Status: Available. n8n connects to the signed-in ApexGenius user. The instance URL, API key, and n8n plan define what the route can reach. It does not use a Salesforce organization or ApexGenius project.Use this connection from Claude, ChatGPT, Codex, Grok Bot, Muse or another compatible AI agent. Each agent needs its own ApexGenius setup once; start with Claude, ChatGPT or Codex.
n8n states that its public API is unavailable during the n8n free trial. Self-hosted instances must be reachable from the ApexGenius backend. A localhost-only instance or an instance available only through a private VPN cannot be verified by the hosted gateway.
When the n8n connection is active and healthy, its current 20 operations can appear in discovery. They cover workflow inspection, templates, generation, replacement, autofix, test runs, data tables, instance audit, and deletion. Your AI client still loads the same three public ApexGenius tools.Review the exact names and access types on the n8n connector page or in the MCP tool reference. The connected n8n account and ApexGenius authorization checks still determine what each operation can reach.
How to connect n8n
Before you start
A reachable n8n instance and an API key for that instance.
1
Open n8n in Connections
Sign in to ApexGenius, open Connections, choose n8n, and select Connect.
2
Enter the instance credentials
Provide the n8n instance URL and API key in the connection form. Save the connection after validation succeeds.
3
Check the available tools
Open the Tools tab and use the Read filter to review the available inspection tools before using workflow authoring or execution actions.
4
Check the saved connection
Use Test connection and read the reported status before asking your AI to list workflows.
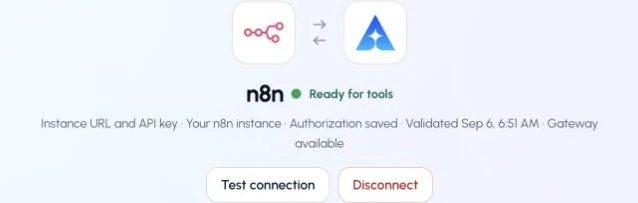
This captured n8n connection reports ready. Check your own connection and its latest validation before using tools.
Try a first question with your AI agent
List up to five n8n workflows. Do not run or change any workflow.
Compare the workflow names and active status with the same n8n instance. A test execution can trigger downstream actions, so begin with a list request.Add your AI agent · Official n8n instructions